Issues
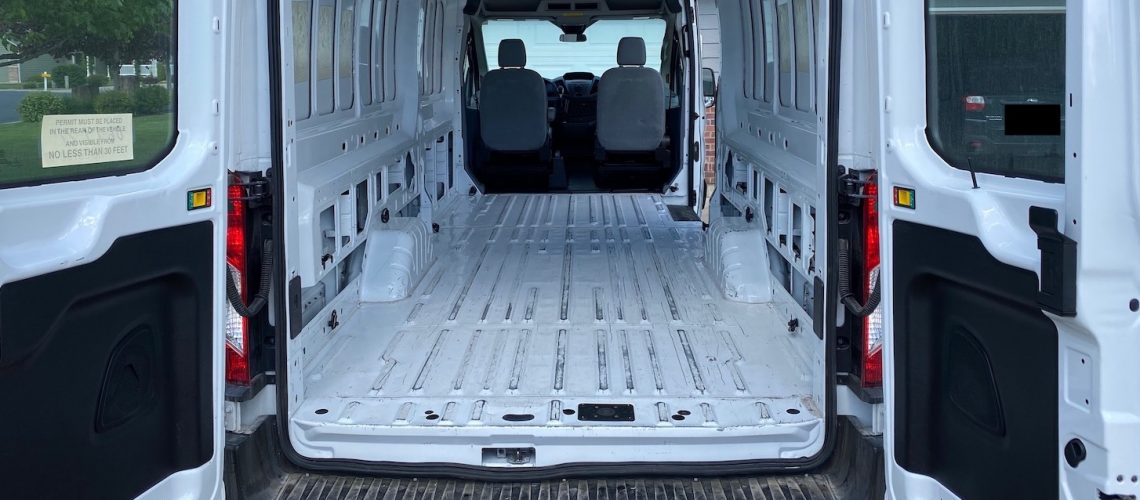
The van came with some dents and scratches on the floor, scratches on the interior walls, a damaged factory deck trim, which could be seen when accessing the cargo area from the back doors. Also, there was a missing plastic cover on the exterior mount where the 3rd brake light and back-up camera are located. I guess it’s common for these to be missing with used Ford Transit vans.
Of course, most of the issues were purely cosmetic and would not affect the performance of the van or van build itself, they were just things we wanted to take care before we got started. The only issues that required attention were the deep scratches that exposed the bare metal.
Action Items
- Remove Damaged Factory Trim
We started by removing the damaged factory deck trim located at the rear of the van. It looked as though one too many refrigerators had been dragged over it, damaging it in the process. We ordered factory replacements, for the damaged deck and missing cover piece, from a local Ford dealership.
Factory trim pieces from Ford are expensive. An alternative would’ve been to find a van in a salvage yard and remove the pieces we needed.
- Clean/Prep Interior
Even though the van was as clean as you would expect when buying a vehicle, we started with deep cleaning the inside. We got into all the nooks and cranny’s, vacuuming out two years of accumulated dust and dirt. Once that was complete, we washed all the surfaces with mild soap to remove any oil residue left behind.
We also roughed up the smooth paint on the floor to make sure the primer would adhere properly.
- Protect Interior
After all the surfaces were prepped, we masked off the interior of the van and sprayed an automotive primer on the entire floor and on the areas of the walls where needed. The automotive primer helps prevent the surfaces from rusting in the future.
- Install Factory Trim Replacements
We allowed the interior paint to dry for a few days and then installed the factory trim pieces we received from the dealership. This was a pretty straight forward process… just a few plastic plugs to secure the deck in place.
