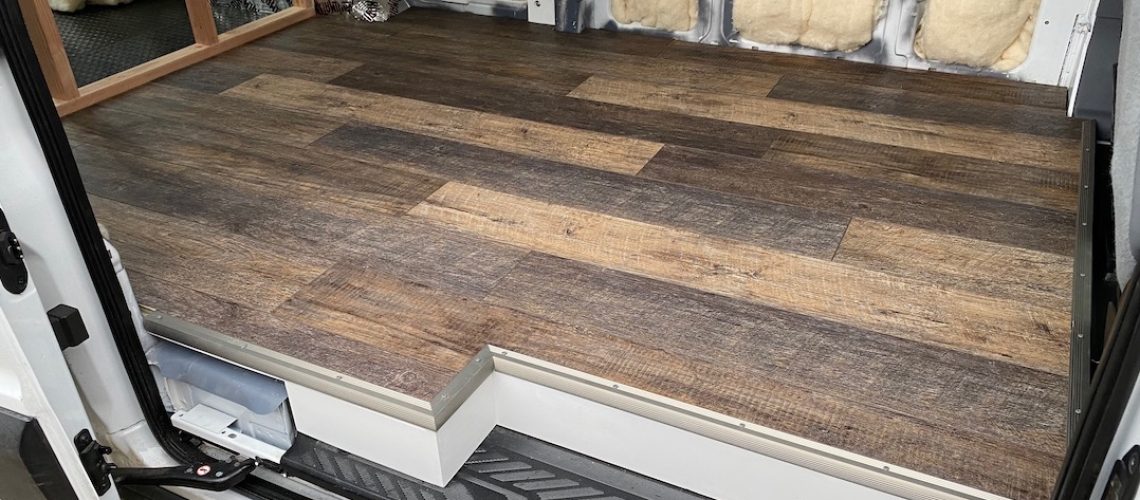
We started off using 1/2″ common plywood as our sub flooring material, but quickly found that it seemed to flex a bit, just under our own weight. We debated whether or not this would make a difference after all of the cabinets were installed and only a few square feet of the flooring would even be available to walk on. Would the flex still be there? Would it even be noticeable?
Our initial thought was to replace the original plywood entirely (all the way down to the furring strips), but the dimensions of the two types of plywood are different; Baltic Birch comes in 5′ x 5′ sheets and common stock plywood comes in 4′ x 8′ sheets. Unfortunately, this meant the furring strips aligned under the seams would be in the wrong position. They were placed at the 4′ mark to match the plywood dimensions. In the end, we compromised and added an additional 1/2″ sheet of Baltic Birch plywood to the living space of the van (before the bulkhead) and left the garage area with just the original plywood (after the bulkhead). The rationale being that one, because we have a fixed bed, we aren’t going to be walking or standing in the garage area, in fact, the center of the garage area was designed to store mountain bikes, and two, there will only be about a 3′ x 5′ area of exposed flooring after the garage cabinets are installed.
We chose Luxury Vinyl Planks because they fit our initial requirements and are easy to install.
Tips:
An easy way to cut Polyiso panels is to sharpen the long edge of a putty knife and cut the panel using a straight edge at the cutting line
Installation Steps:
Remove OEM tie downs from the floor of the van (if they exist)
Cut furring strips to length
Paint furring strips with two coats of primer each
Glue furring strips to the top of the floor ribs using Sikaflex-221 adhesive
Cut individual Polyiso panels to fit in between the furring strips
Tape all of the seams with the reflective foil tape
Create a paper template to match the floor blueprint of the van
Cut the smooth brown panels based on the paper templates
Cut the baltic birch using the brown panels as the template
Screw the baltic birch panels to the furring strips
Caulk around the edges for a water tight seal using GE Advanced Silicon
Notes:
Our furring strips were placed about 10 inches apart
We added additional furring strips to any area that needed additional support:
- Cabinet bases
- Step up area by the sliding door
- Floor seams
- Shower pan area
We used 1/4" brown wall panelling to make reusable templates
We used 3/4" thick Polyiso panels to match the actual dimension of the furring strips
We used RMAX Polyiso panels because of their high R-value per square inch and high compressive strength (16-25 pounds per square inch)
