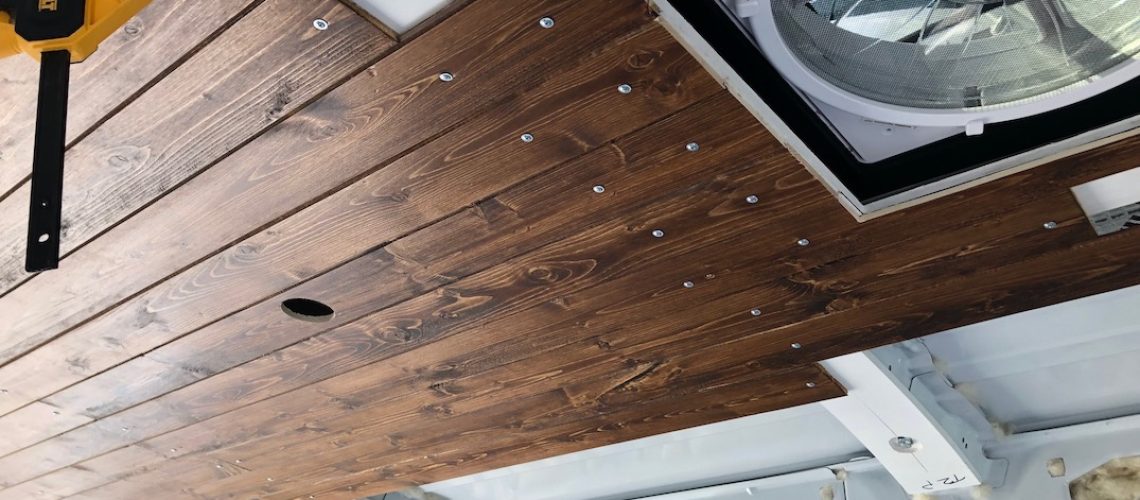
We chose to use 1/4″, tongue and groove pine boards that allowed us to simply follow the natural slope of the roof. The corners proved to be the most difficult as the roof not only slopes down, but the sides also slope inward as the van narrows towards the front. To help keep everything aligned as we installed the boards, we created custom mounting ledges at the front and rear of the van. We mounted the ledges to their respective pillars (front, back), to provide mounting points for the ends of the pine boards. They were custom made from baltic birch and basically simulate having roof ribs at the front and rear of the van.
At this point in the build, we knew the future location of the electrical distribution panel, as well as, the locations of the living area, bedroom, and bathroom lights and switches. The Maxxair fan had already been installed, so we also had its wiring connection location. To rough the electrical wires in, we fastened them to the roof bows and side pillars of the van and routed them to their switch locations and the future distribution panel location.
You’ll notice a theme going forward. We used multiple coats of primer or polyurethane on everything we installed in the van to make sure everything was as waterproof and mildew resistant as possible. The ceiling boards were no exception. We stained the front and put at least two coats of polyurethane on the front and back of each one.
Tips:
Install the pine boards from the center outwards and continually install the insulation as you go
Installation Steps:
Rough in the wiring for each light based on your electrical diagram
Drill and install cross nuts on the ceiling ribs of the van (4 per rib)
Insulate each of the ceiling ribs with the Havelock Wool
Cut the baltic birch into 4" or 5" strips to match the width and length of the ceiling ribs
Paint the strips with two coats of primer
Secure the strips to the ceiling using countersunk 1/4" bolts
Cut the pine boards to length
When needed, cut the appropriate sized holes in each board for the light fixtures
Stain the pine boards and add two coats of polyurethane to each
Secure the ceiling boards to the ribs using the truss head screws and install the Havelock Wool as you go
Connect Acegoo lights to the roughed in wire using the WAGO 221-412/221-413 lever nuts
Install the Acegoo lights into the ceiling board
Following the instructions from the Maxxair fan to cut and install the decorative trim
Notes:
Cut custom mounting ledges for the ceiling boards for the front and back of the van
Reinforce the area around the Maxxair fan to allow for fastening the ceiling and Maxxair fan decorative trim
